

One project that’s been on my to do list for quite some time now is replacing my home media server. Over the years, this machine has been migrated from one hand me down system to another, and is currently running on an old laptop that is starting to strain under the load that we put on it.
The primary duty of this machine is to run a local instance of Plex Media Server, in addition to a half dozen Docker containers that run services for everything from photo management to the various homebrew projects that I’m working on at any given time. While early iterations of the server included a RAID array for storage, more recent versions have externalized that duty to a Drobo 5N2 that simplifies the job considerably.
In this post, I’ll explain the process of setting up my replacement system. Replacing the server is a big job, so there will be at least one subsequent post that details the process of setting up Plex Media Server, NextCloud, and other useful services that I run.
Procuring the Hardware
Years ago, my wife and I ripped all of the TV series and films that we had on DVD and Bluray off to our home media server so that we could watch them as digital files. That collection has continued to grow as time goes on, and we’ve now started to add video of our son to the list of files that we want to play back from any device in the house.
As mentioned above, I use Plex Media Server to organize all of this content, and recently found out that it is capable of taking advantage of Intel Quick Sync Video, a hardware-accelerated video transcoding solution that is built into modern Intel CPUs. When using this feature, Plex offloads transcoding to the underlying hardware, dramatically lowering the amount of CPU and RAM that it needs to use to transcode video files, which in turn should increase the useful lifespan of my hardware as the size of video files that we play back continues to grow.
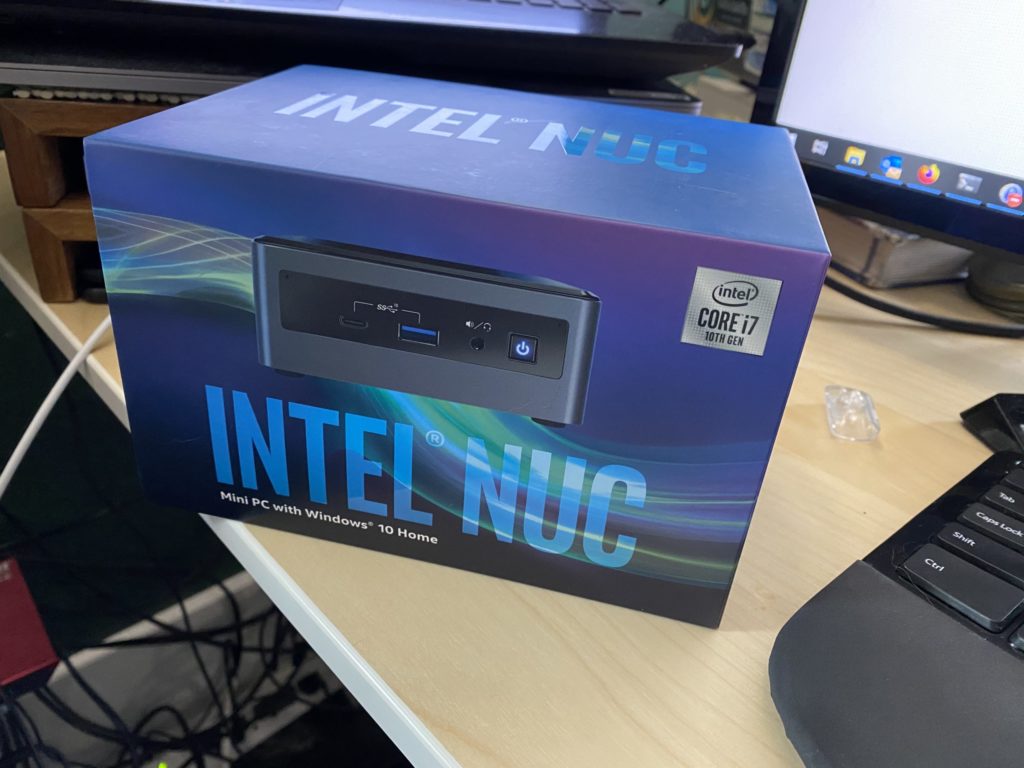
After a good deal of research, I settled on the Intel NUC BXNUC10i7FNHJA, an all-in-one machine that’s approximately 4″ square by 2″ tall. It contains an Intel Core i7-10710U CPU that supports Quick Sync Video, and ships with a 1TB SSD and 16GB of RAM installed.
When the machine arrived, I found that it was missing a part of the power cord.
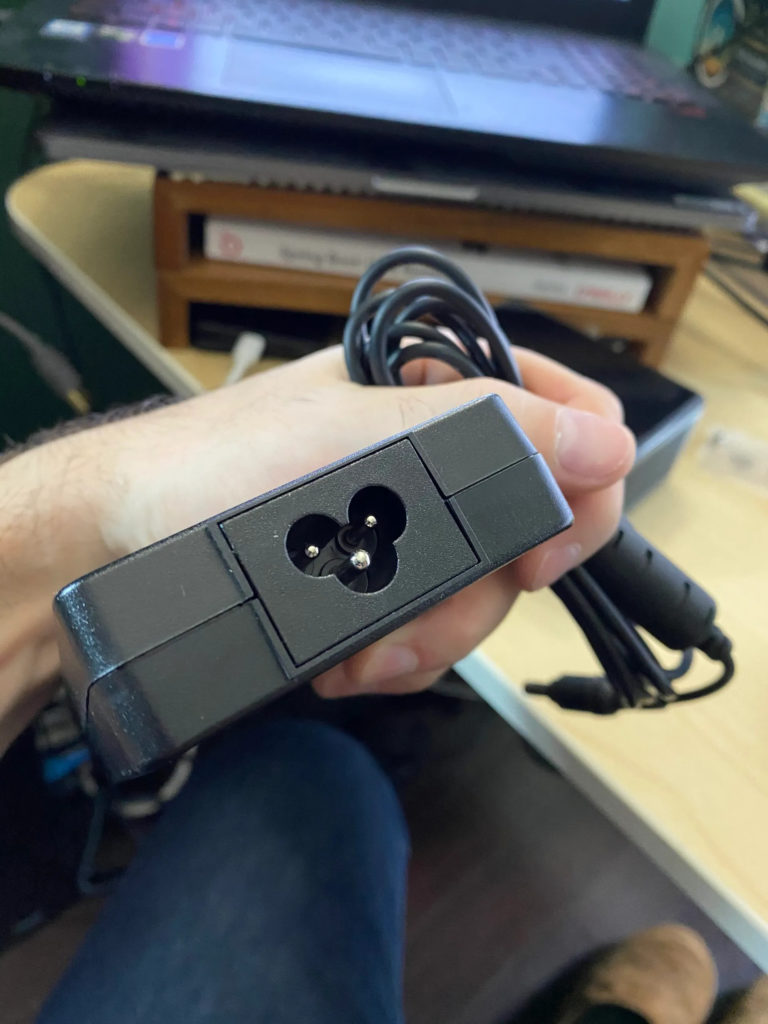
I had an extra one kicking around, but it seemed like a strange omission to me.
When I first booted up the machine, I found that it came preinstalled with Windows 10. I had always intended to run Ubuntu Server as the OS, but figured that I may as well create a USB recovery drive with the Windows 10 license, seeing as I had already paid for it and might one day want to restore it to the hardware.
Four hours into process of creating the recovery drive with no end in sight, I gave up on that notion, and decided to blow it away in favour of Ubuntu.
Installing Ubuntu Server
With the hardware ready to go, I set about trying to get the my OS of choice installed.
I started by downloading a copy of Ubuntu Server 20.04.2.0 LTS, a headless operating system that will be supported until April 2025. Because my primary PC is a Windows 10 machine, I used Powershell’s Get-FileHash command to verify the SHA-256 hash of the downloaded ISO. Finally, I converted the ISO into a bootable USB stick with an open source Windows application called Rufus.
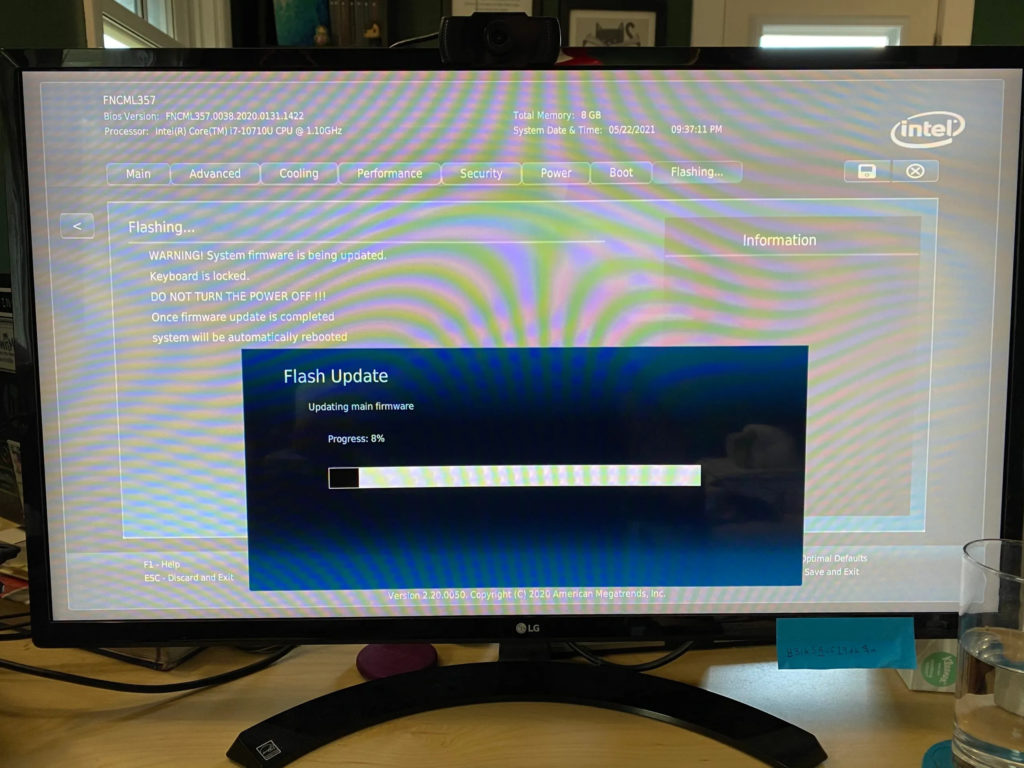
Unfortunately, every time I tried to use my newly created USB stick to install the OS, the installer crashed. Hard. After my third attempt, I decided to try a BIOS update. I found the updated firmware on Intel’s website, but it didn’t solve the problem.
After some research, I found a post on the Ubuntu support forum that suggested that I disable Intel Turbo Boost, a technology that automatically overclocks the CPU when under heavy load, so long as it is running below certain temperature and power draw thresholds. Unfortunately, this did not solve my problem.
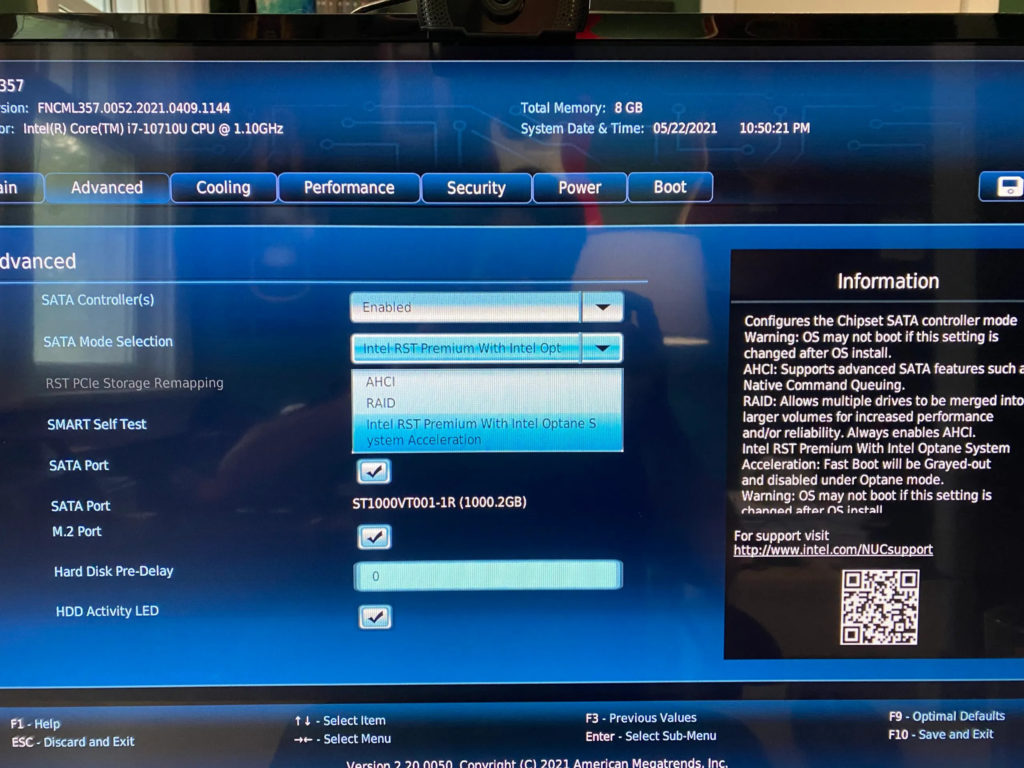
I eventually tired of tinkering with BIOS settings and opted to try installing the Ubuntu Desktop variant of the 20.04 LTS release. This version of the OS ships with a desktop and a graphical installer that is much smarter than its Server release counterpart, and it surfaced a helpful popup that told me to deactivate RST in favour of AHCI. Having flipped that switch in the BIOS settings, I went back to the Ubuntu Server installer and it (finally) worked without issue.
Securing the System
With the operating system installed, it was time to get to work configuring and securing it. I started off by setting up a static IP address for the machine so that it would always be assigned the same address whenever it connects to our home network.
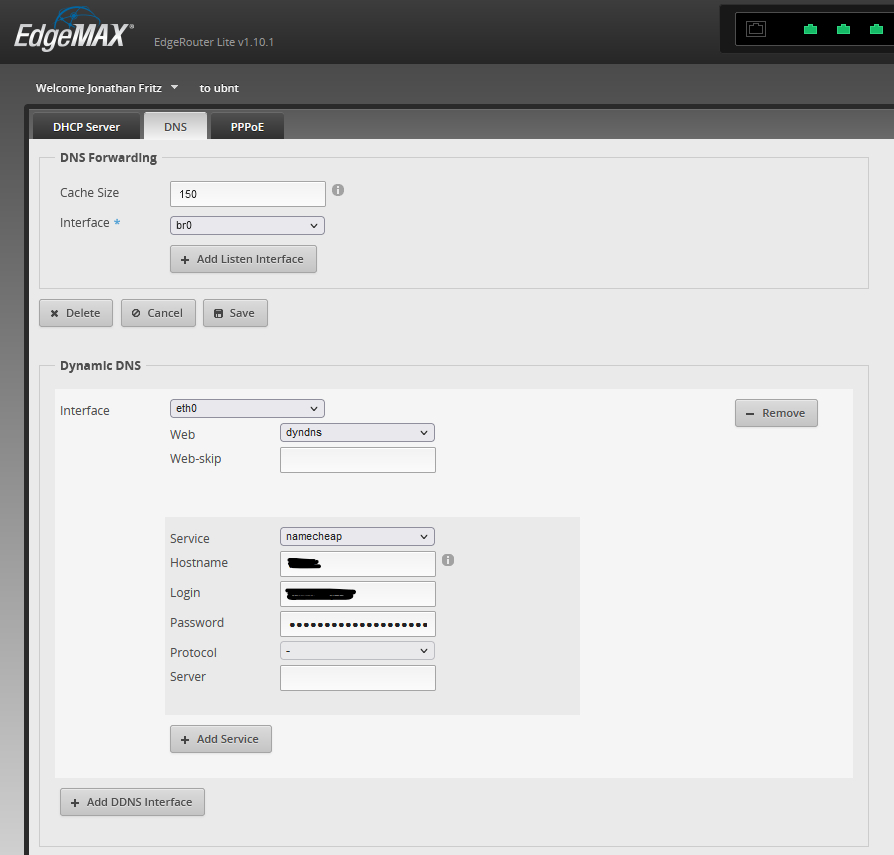
While I was playing around with the router, I configured a NameCheap Dynamic DNS hostname for our home network. I run an EdgeRouter Lite, and found some helpful instructions for configuring DDNS at the router level. Now, any traffic that goes to the subdomain that I configured will be redirected to my home IP address. In the future, I’ll be able to set up some port forwarding rules at the router that allow me to connect to the media server via SSH or to expose web interfaces for the various services that I run to any machine in the world.
Next up, I configured sshd to only accept public/private key authentication, and tightened up the ssh security configuration. I also set up a firewall (UFW), running sudo ss -ltnp to check for open ports before and after the firewall was configured. Going forward, I’ll have to explicitly poke holes through the firewall for each service that I want exposed to the network. In addition to the firewall, I set up fail2ban, a service that detects and automatically blocks DDOS attacks against my SSH server. It can watch over other services in addition to sshd, so I may revisit its configuration at a later date.
Mounting Shared Drives
The last few iterations of the home media server have offloaded media storage duties to a Drobo 5N2. It’s a trusty NAS appliance that makes storing our files a snap. Add to that the fact that it can accept hard drives of any size, and can gracefully recover from a failed drive, and it’s a no-brainer for the home administrator. Gone are my days of cobbling together software RAID5 arrays out of scavenged drives, and I couldn’t be happier for it.
Up until now, I’ve stored everything on a single public Drobo share. One of the things that I’d like to change in this build is to split that single share up into a number of different shares, each with a particular purpose and accessible only to the users that need those files.
Since Ubuntu uses systemd to manage services, I opted to use a mount unit configuration to mount the drives at boot. Each Drobo share requires a .mount file and a corresponding .automount file in the /etc/systemd/system directory.
Here’s the .mount file for the public share that holds files that any machine connected to the network should be able to access:
[Unit]
  Description=Drobo Public Share
  Requires=network-online.target
  After=network-online.service

[Mount]
  What=//192.168.1.5/Public
  Where=/mnt/media
  Type=cifs
  Options=rw,vers=3.02,guest,noperm,uid=1000,gid=1002,_netdev,file_mode=0777,dir_mode=0777

[Install]
  WantedBy=multi-user.target
and here’s the corresponding .automount file for that share:
[Unit]
  Description=Drobo Public Share
  Requires=network-online.target
  After=network-online.service

[Automount]
  Where=/mnt/media
  TimeoutIdleSec=10

[Install]
  WantedBy=multi-user.target
Together, these files cause the Drobo share that lives at //192.168.1.5/Public to be mounted at /mnt/media whenever the server boots. Because everybody can access this share, it is mounted without authentication, and all users get full read, write, and execute access to all files on it.
The .mount files for Drobo shares that require authentication to mount look very similar, except for the value of the Options key in the [Mount] section. The value of this key holds the cifs options that are specified when mounting the samba share that is exposed by the Drobo. I make use of the credentials option to pass the path of a file that holds the username and password that protect the Drobo share. This file is can only be read by the root user, and the credentials in it correspond to a user account that I created on the server. Finally, I use the uid and gid cifs options to make the user account the owner of the mounted directory. Here’s an example:
Options=credentials=/etc/drobo/backup.smb,uid=1001,gid=1001,file_mode=0770,dir_mode=0770,iocharset=utf8The last thing to do was to make a group called mnt, and to put all users that have the ability to access one or more Drobo shares into that group. Then, I modified the directory that I mount shares into (in my case /mnt) so that it belongs to the mnt group. You can see in the sample above that I use the cifs gid option to assign ownership of the mounted share to the mnt group, which in my case has group id 1001.
This setup was the result of much tinkering and experimentation. If you’re interested in a setup like this, I would suggest that you take a read through this post on Michl’s Tech Blog. It was extremely helpful!
In Our Next Installment
At this point, we’ve got new hardware running; an operating system installed, configured, and secured; and our file shares mounted. In my next post, I’ll document the process of getting Plex Media Server and NextCloud up and running.
Leave a Reply