
So you’re running elementary OS and want to access the music files you have stored on a Network-attached-storage device within the Music program. Unfortunately while you can easily browse the network and find these files you can’t do so within Music. Luckily there is a solution to this problem! Borrowing heavily from a previous post this will walk you through how to set up a persistent media folder on your computer that will ‘point’ to the music directory on your NAS.
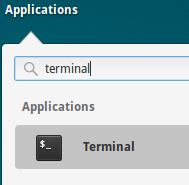
Step 1) Open up a terminal
Step 2) Install the required software
For the purpose of this post I’m going to assume the NAS is presenting a Windows file share so we’ll need the software to be able to make use of it. Simply run the following command to install the needed software:
sudo apt-get install cifs-utils

Step 3) Create a location for where you want the media to appear
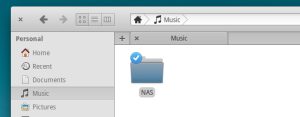
If this is just going to be used for your user account you can simply create a new folder in your home folder. For example create a new folder under the Music folder called “NAS”. However if we want multiple users to be able to access this then you’ll want to put it somewhere else (for example /media/NAS).
Step 4) Edit the fstab file and add the share(s) so that they auto connect on startup
So basically there is a file on your computer called fstab that contains information about all of the hard drives and mounts that the computer should create on boot. To make it so our new NAS folder points to the actual NAS directory we’re going to add a new line to this file telling our computer to do just that. Start by using your terminal and opening that file in an editor. You can use a terminal editor like nano or even a graphical one like Scratch.
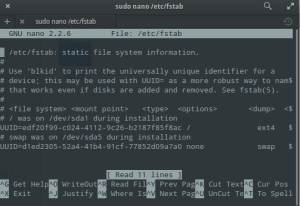
To use the terminal editor nano run the following command:
sudo nano /etc/fstab
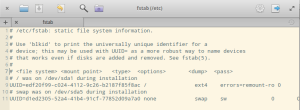
To use the graphical editor Scratch run the following command:
sudo scratch-text-editor /etc/fstab
On a new line add the following (modifying it according to your system). Note that this should be a single line even though it may appear broken up over multiple lines here:
//<path to server>/<share name>  <path to local directory>  cifs
guest,uid=<user id to mount files as>,iocharset=utf8  0  0
Breaking it down a little bit:
- <path to server>: This is the network name or IP address of the computer hosting the share (in my case the NAS). For example it could be something like “192.168.1.123†or something like “MyNasâ€
- <share name>: This is the name of the share on that computer. For example I set up my NAS to share different directories one of which was called “Filesâ€
- <path to local directory>: This is where you want the remote files to appear locally. For example if you want them to appear in a folder under your Music directory you could do something like “/home/tyler/Music/NASâ€. Just make sure that the directory exists (that’s why we created it above :)).
- <user id to mount files as>: This defines the permissions to give the files. On elementary OS (as well as other Ubuntu distributions) the first user you create is usually given uid 1000 so you could put “1000†here. To find out the uid of any random user use the command “id <user>†in the terminal without quotes.
As an example the line I added for my example configuration here was:
//192.168.3.25/Files  /home/tyler/Music/NAS  cifs
guest,uid=1000,iocharset=utf8  0  0
Now save the file.
Step 5) Test that it worked
Finally in the terminal we’re going to run command to actually test it:
sudo mount -a
This will do essentially the same thing that happens when your computer first boots so if this works it should work the next time you restart as well. If you don’t get any errors then congratulations it should have all worked! You can verify by now opening up your NAS folder and confirming that it shows the contents of your actual NAS directory.
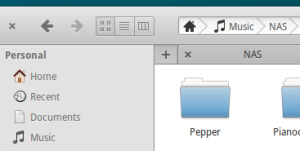
Step 6) Import the music into Music
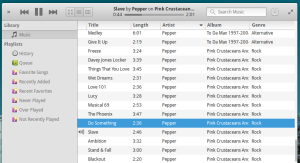
Now that we have the NAS music showing up in a local folder the Music application will be able to add it no problem. Simply open up Music and use the import option to import the music from your folder (in my case ~/Music/NAS).
This post is part of a series:

Leave a Reply